Pop Sugar Dress Tutorial Part 3
How To Make the Pop Sugar Jacket
We've cut out the pattern and made up the dress so we will continue on with the Pop Sugar dress tutorial to construct the jacket.
The jacket should be fairly simple to make, if you construct it from fabric similar to what we've used for the dress. My dress was made from some colourful quilting cotton I found in my stash. But I thought the outfit would look totally 60s if the jacket were made from some furry "Sonny and Cher" pile fabric. In the 1960s, "furry stuff" was all the rage - furry vests and jackets, shag carpets, and vans completed lined with Fun Fur. I just happened to have something like that lying around, left over from a failed "Cuddle Kit" quilt I'd tried to make. I warn you, the fabric is awful to work with!!!
The fabric is called "Cuddle Cloth" - it seems to be sort of like Minky, if you are familiar with that. In any case, it is a nightmare to try to sew because it slides all around when you sew it. Not even a walking foot seems to help or even basting! I had a heck of a time making the quilt and it was so ghastly and lop-sided, I threw it out. My husband "rescued" it from the trash and used to to keep his car hood warm in the driveway... but he said it sucked at doing that too... Kept sliding off. I just happened to have a scrap of the stuff left and it looked like it would make a pretty cool doll jacket so...
Well, here goes. This jacket took about two days of work, since I had to stitch most of it by hand. Since the fabric just slides around no matter how carefully you pin it, I had to baste everything, stitch it on the sewing machine, and then cat-stitching all the seams open on both sides of the side. It was pretty time-consuming...
Please feel free to make your jacket of something else!
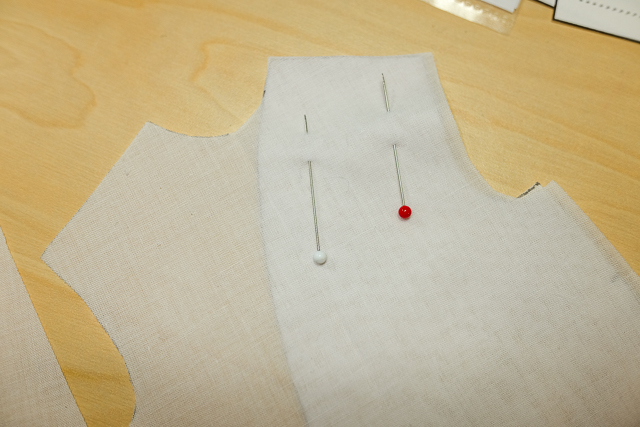 Begin by sewing the shoulder seam for the jacket lining. Sew from the neck to the shoulder.
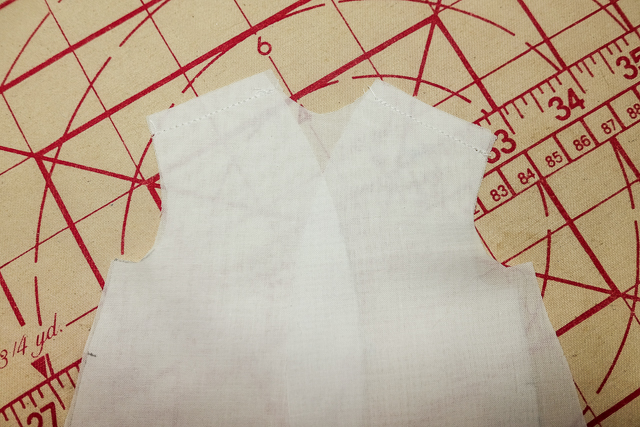 Complete sewing the shoulder seams.
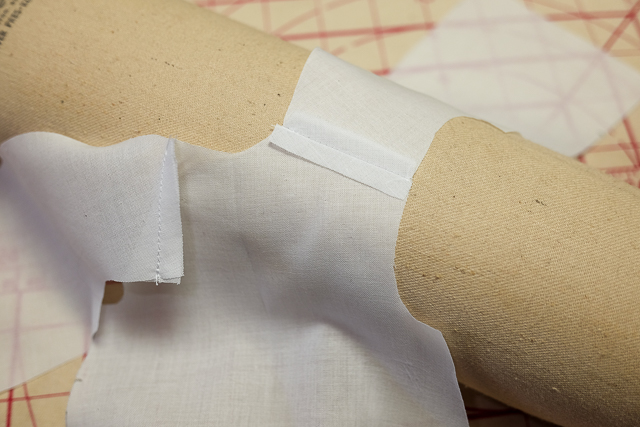 Press the shoulder seams open. I pressed them over the seam roll.
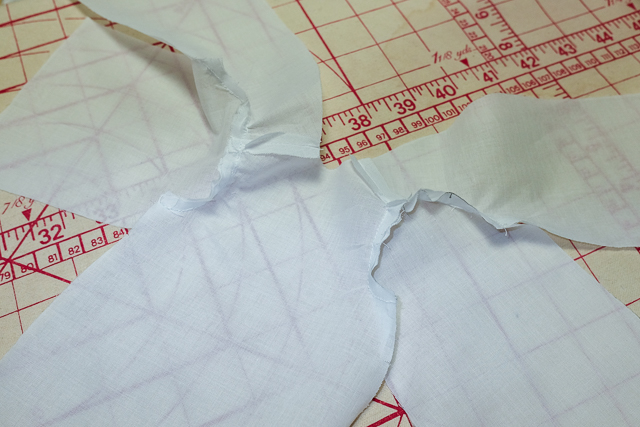 Sew in the sleeves. You may trim them a bit and press towards the sleeve.
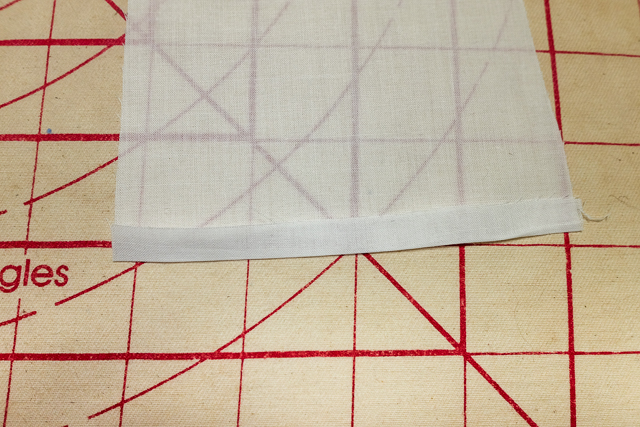 Press up the bottom edge of the sleeve. This will make hemming the sleeves easier later on.
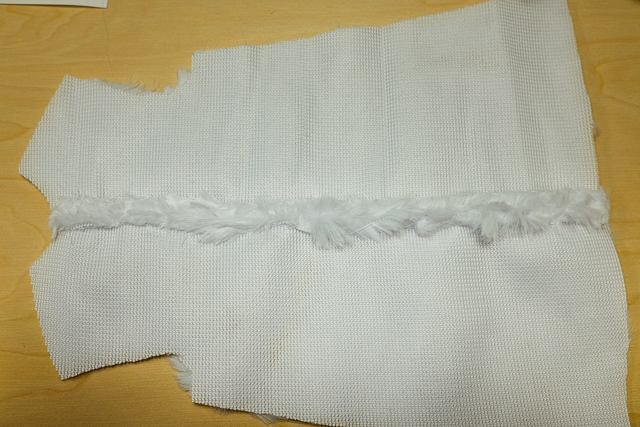 This jacket didn't originally have a back seam, but my fabric wasn't wide enough to cut it as all one piece. So I added a seam allowance and seamed it up the middle. The seams are pulled open and cat-stitched down on each side - you can't press this fabric with an iron so this is the ONLY way to make it lie flat!
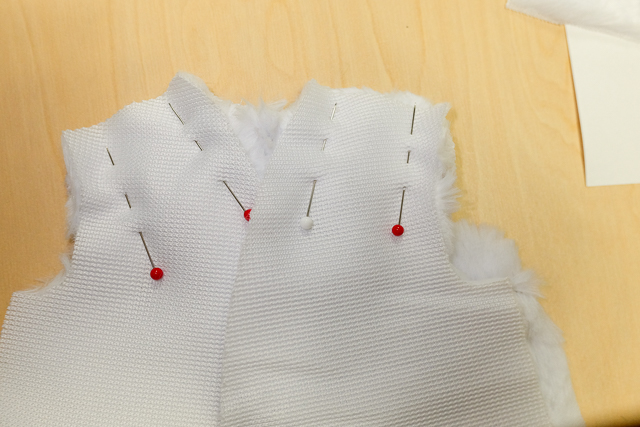 Sew the shoulder seams of the jacket. Open the seam and cat-stitch each side down.
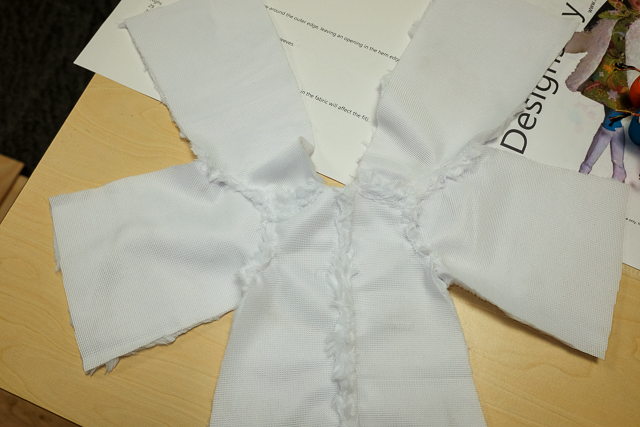 Sew the jacket sleeves onto the body of the jacket. Cat-stitched the seams down towards the sleeves.
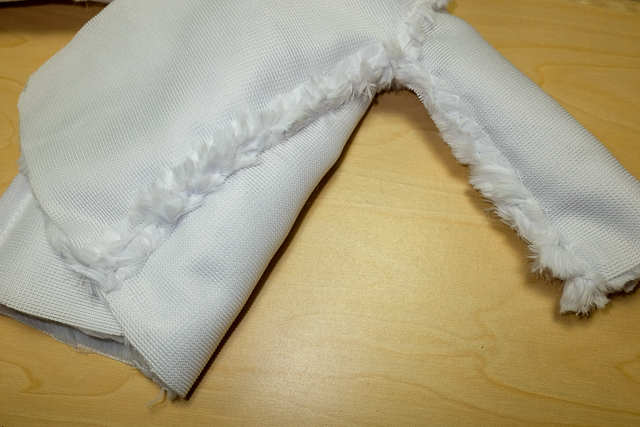 Sew the jacket side seams. Again, open the seam and cat-stitch each side down. This was the most time consuming part of making the jacket!
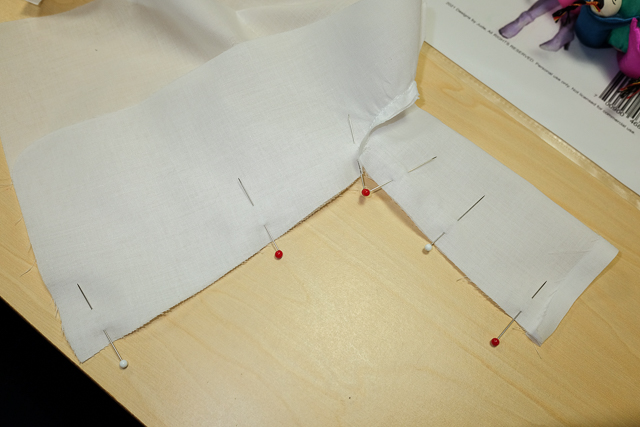 Sew the side seams of the jacket lining.
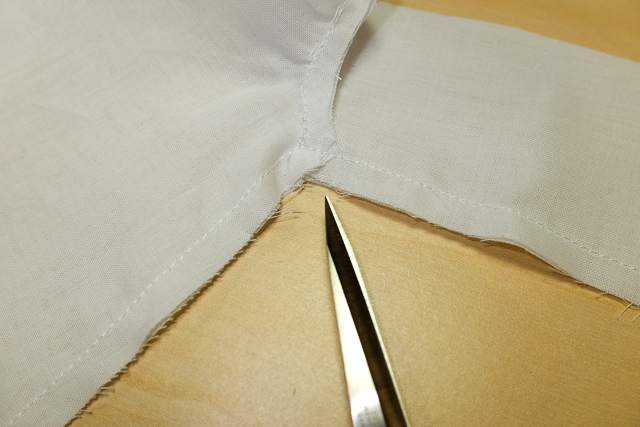 Remember to clip the lining underarm seam so the doll can easily move her arms!
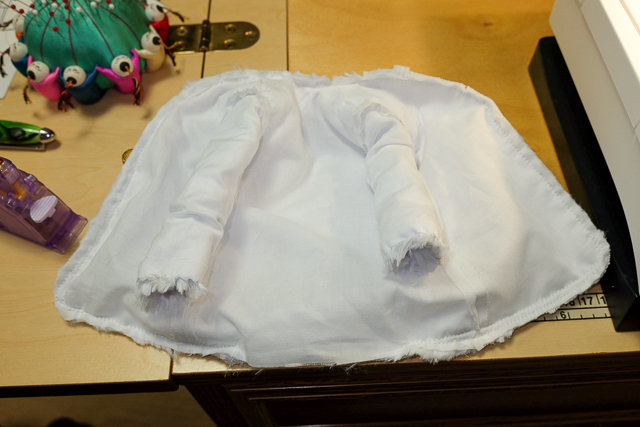 Pin, baste, and sew the lining to the jacket, leaving a small opening in the bottom back to turn the jacket to the right side.
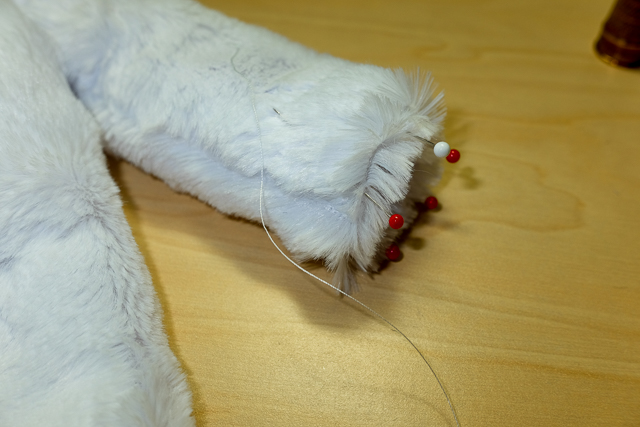 Pin and sew the lining sleeve hem to the jacket sleeve hem. Normally, you might want to have the lining on the outside the you sew to make this easier, but the furry fabric was just too thick.
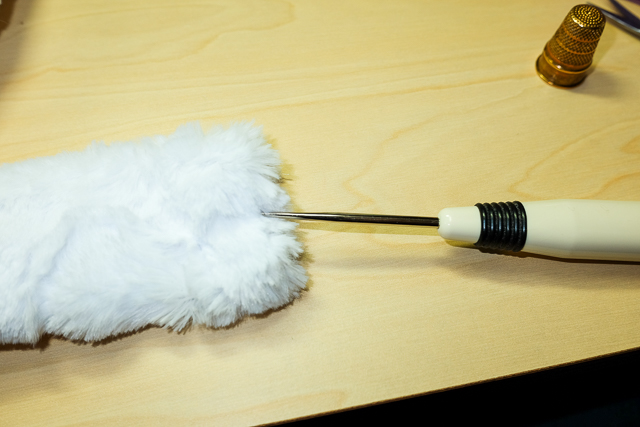 The fur may get caught in the seams as you sew. You can "unpick" it with an awl so it isn't caught in the seam.
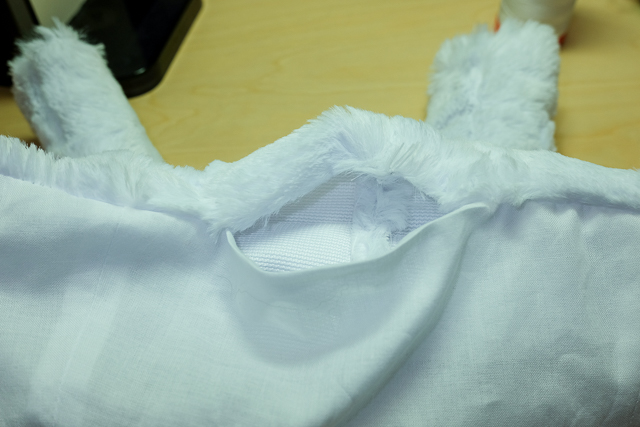 Here is the opening you left to turn the jacket right side out, on the bottom on the back.
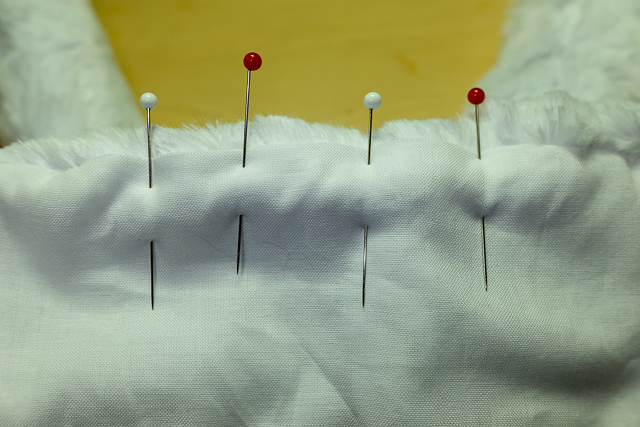 Pin and slip stitch the bottom opening at the back of the jacket.
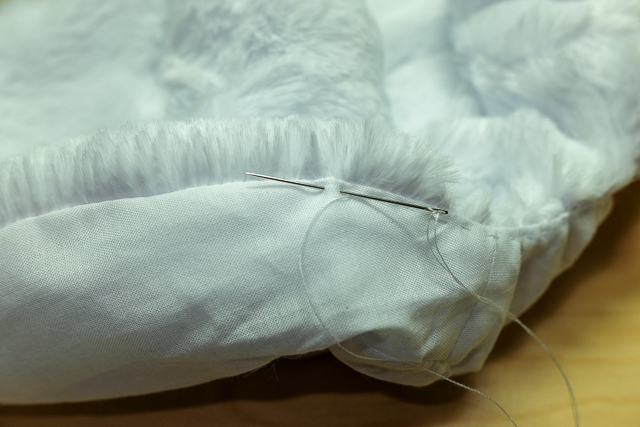 Since the furry fabric is so thick and you can't press it with the iron, you will have to under stitch it to the seam around the edge of the jacket lining in order to make it lie flat and not bulge out.
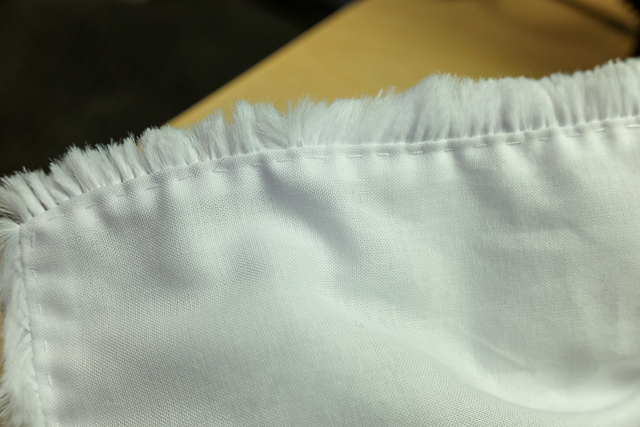 Here is the finished under stitching. It goes all around the outside edge of the jacket lining.
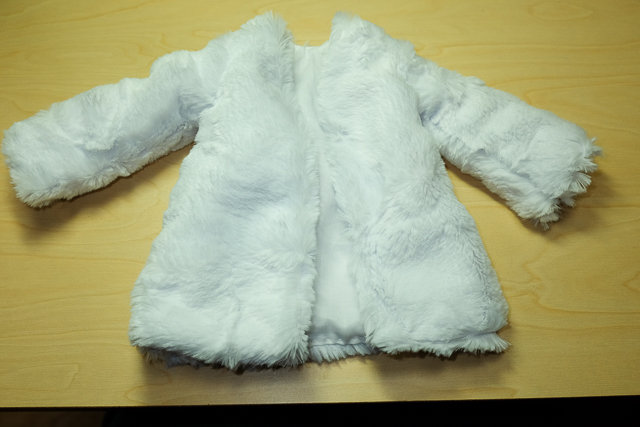 Here is the finished jacket!
To construct the stockings, fold them in half and sew up the side. Pretty stretch lace makes a nice-looking stocking top to keep them up.
The finished Pop Sugar dress tutorial outfit
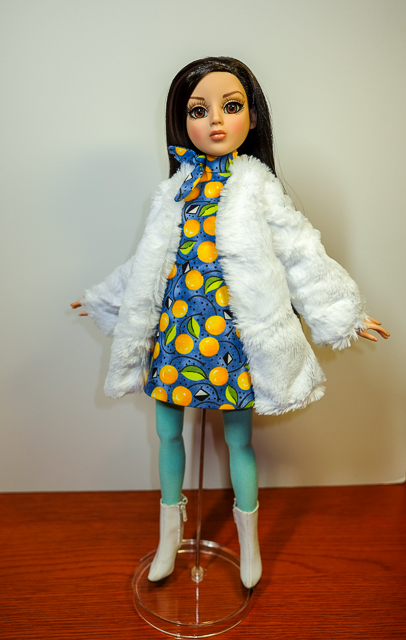 Amber likes her new Pop Sugar outfit!
Go back to Pop Sugar Dress Tutorial, Construct the Dress -->
Go back to Pop Sugar Dress Tutorial, Cut Out the Dress -->
Return to the Home Page -->