Pop Sugar Dress Tutorial Part 2
Making the Pop Sugar Dress
We continue on with the Pop Sugar dress tutorial. See the previous page if you haven't yet cut out the pattern. Now we go to the sewing machine. The dress itself is pretty easy and fast to construct. So let's get started!
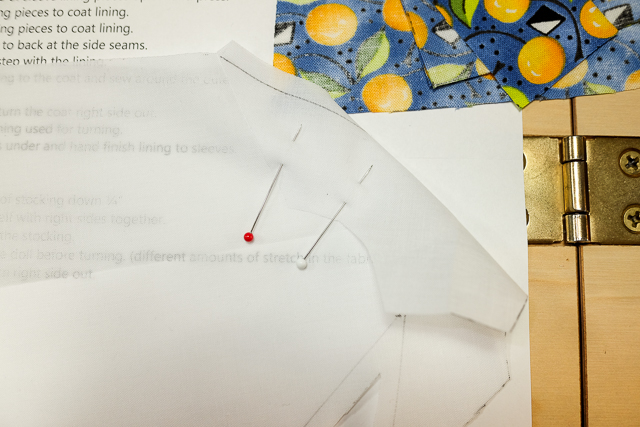 I am beginning with the lining. First, sew the dart seam. Press it downwards with the iron.
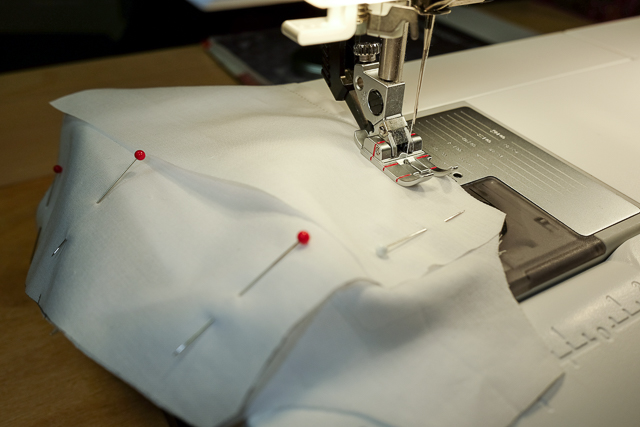 Next, we sew the side seam of the lining. Sew from bottom to top.
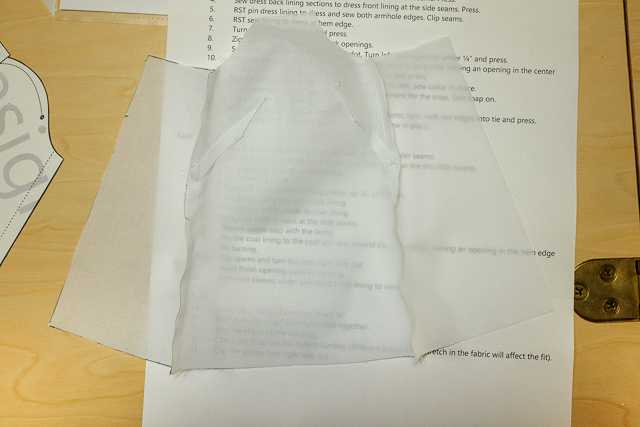 Here the side seams of the lining are sewn. Press them open with a iron.
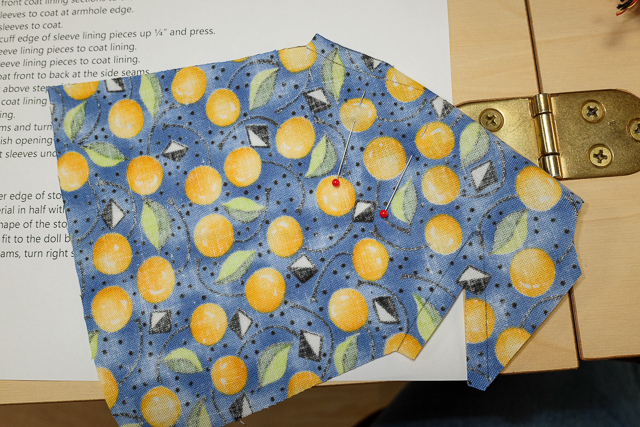 Mark and sew the dart.
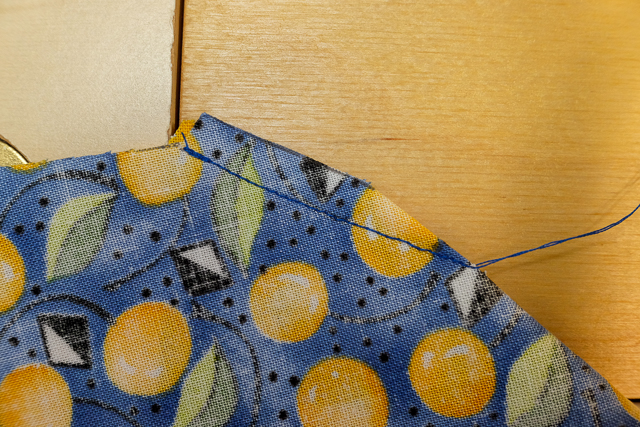 Here is the sewn dart. Tie off the end of the dart with a small knot.
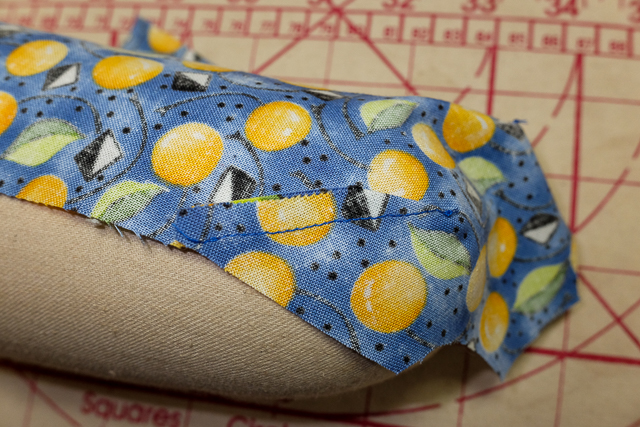 I am pressing the dart downward, using the curved end of my seam roll.
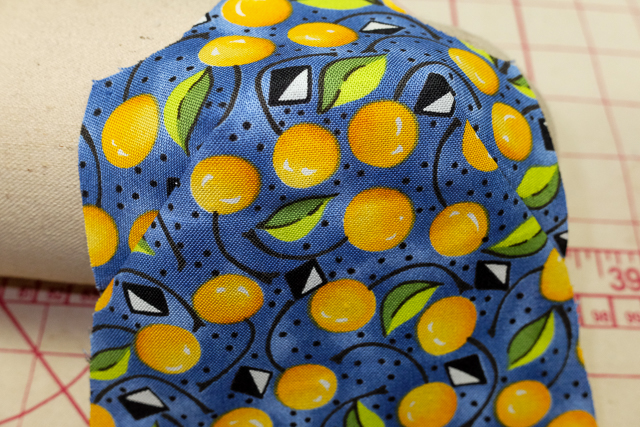 Here is the finished front, with the darts sewn and pressed downward.
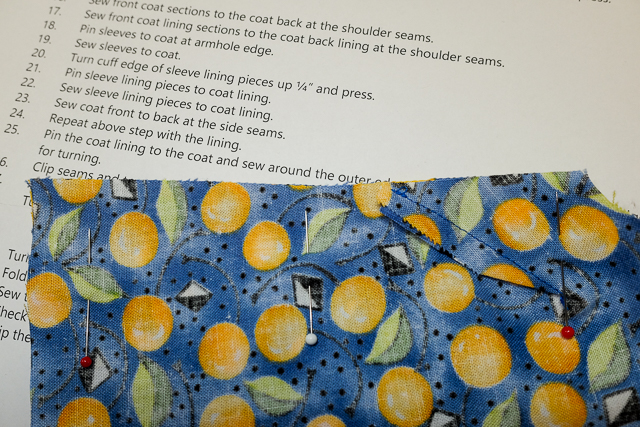 Sew the side seams. Sew from the hem to the top to follow the grain.
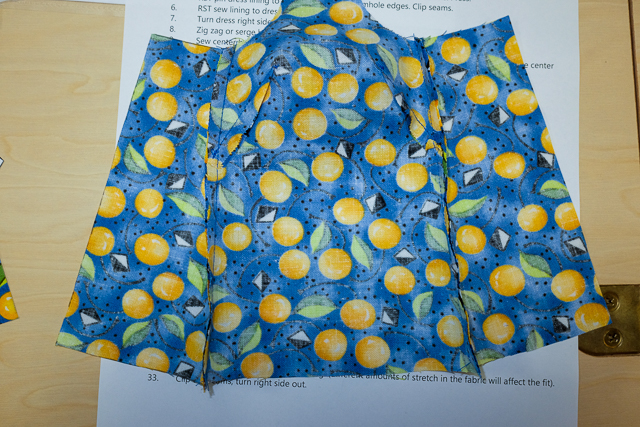 The front darts and side seams of the dress are finished.
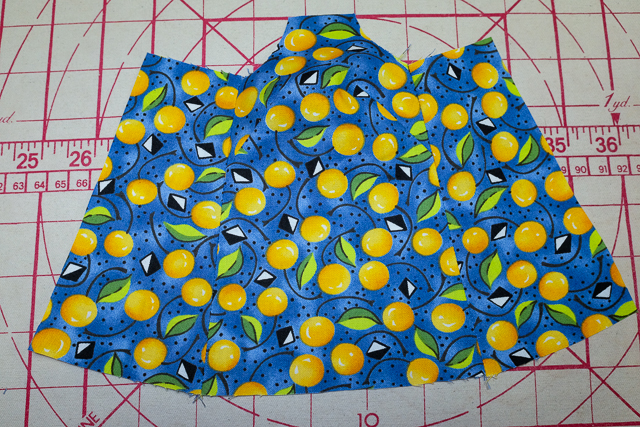 Here is the outside of the dress, finished, pressed, and ready to install the lining.
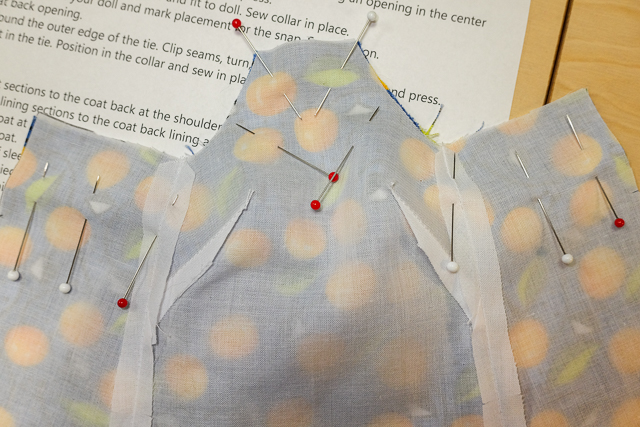 Pin the lining to the outside fabric, right sides together and stitch along the top edge of the dress.
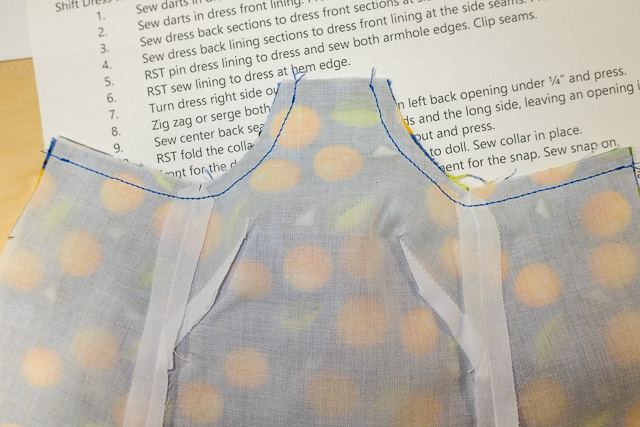 The top seam has been sewn. Clip the curves and trim the seam to about 1/8 inch.
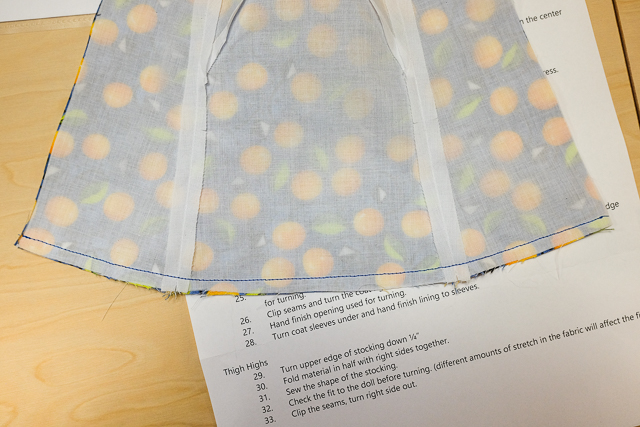 Sew the hem seam and clip those curves. You may also trim this seam a bit to about 1/8 inch.
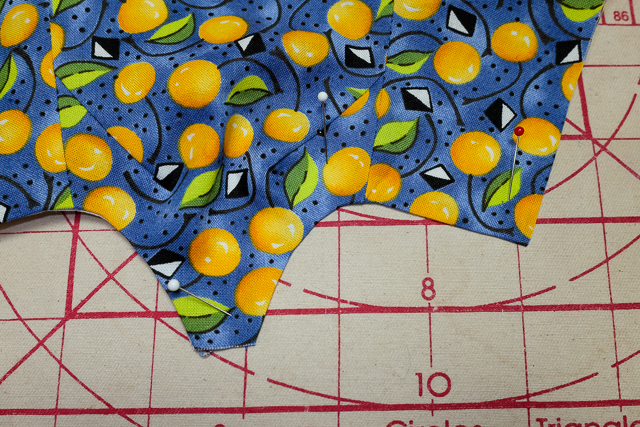 Turn the dress right sides out and press the top seam very well with a hot steam iron.
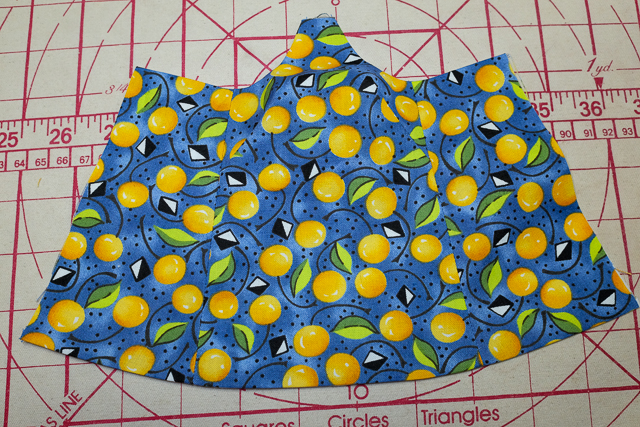 Press the hem in the same way at the top seam with a hot steam iron. Make sure the seams are good and flat and the lining can't be seen from the outside.
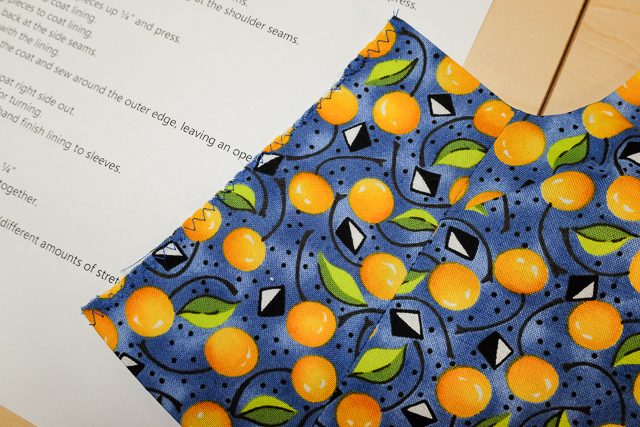 Overcast the back edges of the dress with a zigzag stitch.
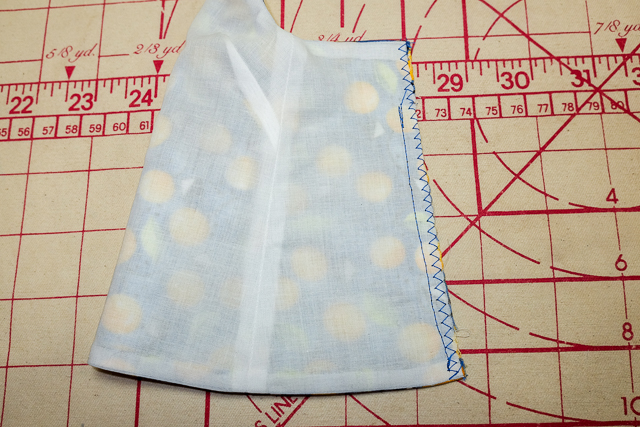 Sew the back seam from the hem up, stopping at the mark for the bottom of the back opening. Reinforce the stitch line with a back stitch where you stop. Press the seam open.
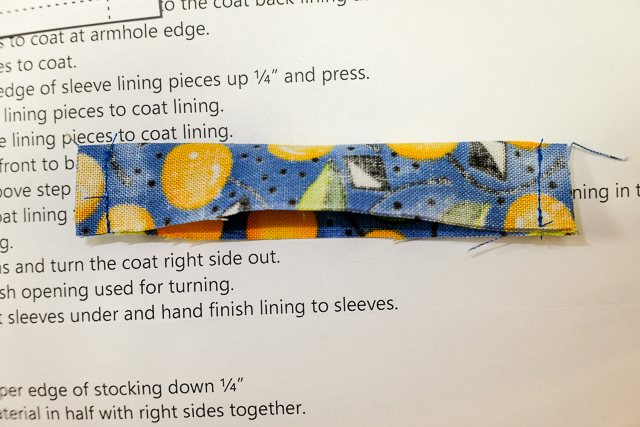 Sew the sides of the collar piece.
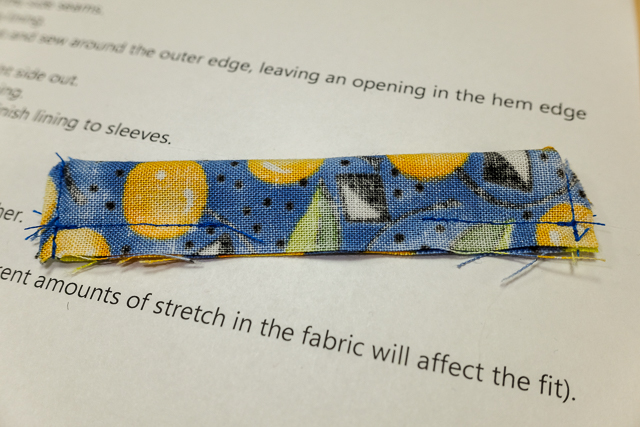 Sew the collar bottom, leaving an opening for turning to the right side.
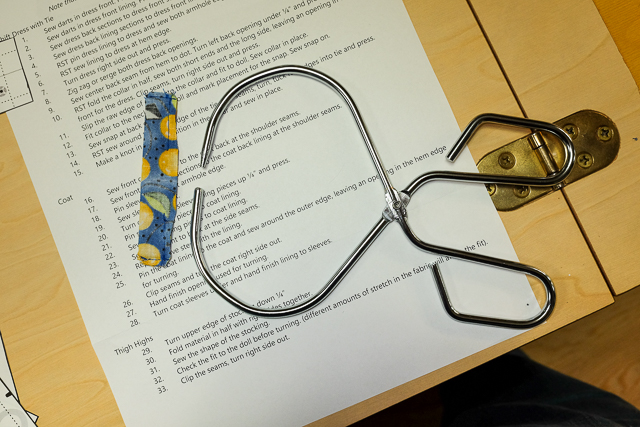 I used a point turner to turn the collar to the right side.
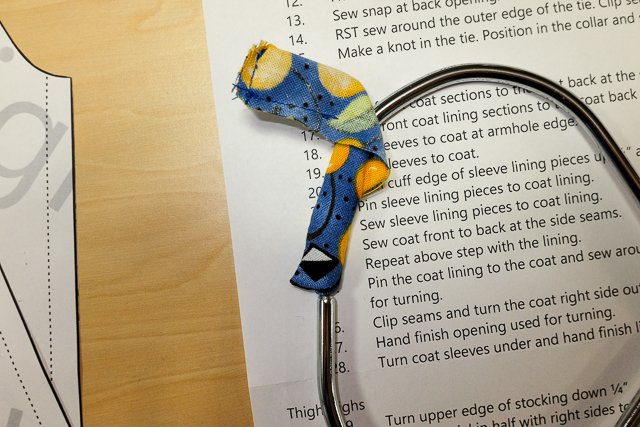 I wedged the point of the tool into the collar and pulled one side of the collar to its right side.
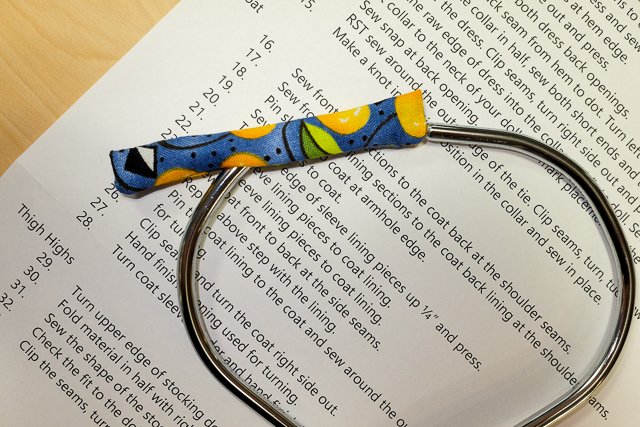 I turn the other side of the collar with the point turner. If you don't have this tool, a small stick-like object may work for you.
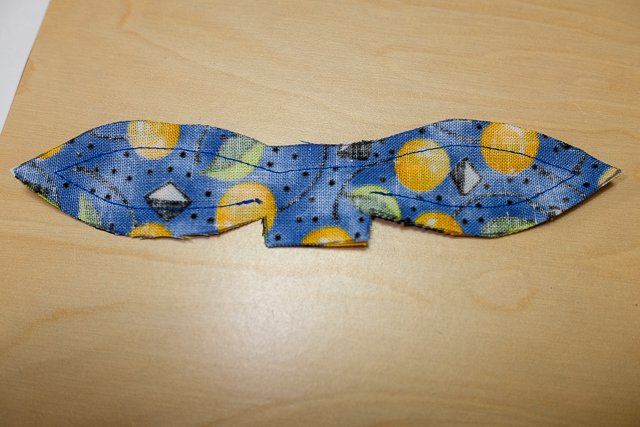 Sew the bow, leaving a small opening in the bottom to turn it to the right side.
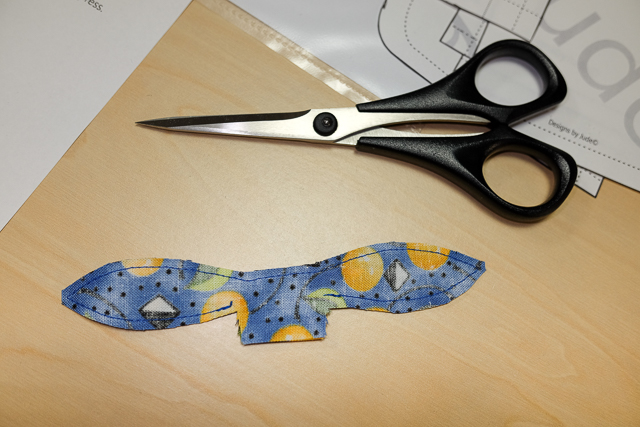 Clip the curves on the bow and trim the seams to about 1/8 inch.
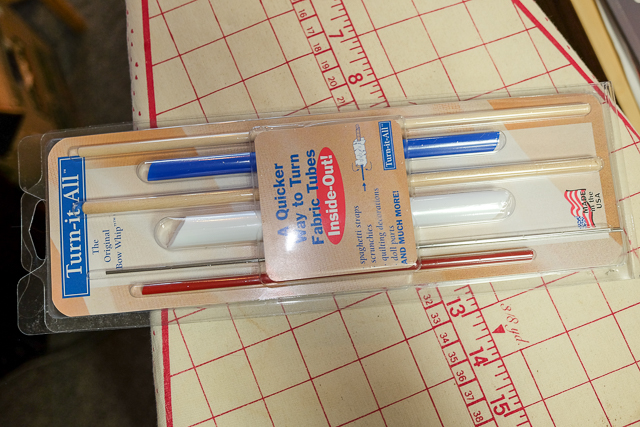 Here is a set of point turners in different sizes. They are useful for turning various sizes of tubes. I used the medium one for turning the bow.
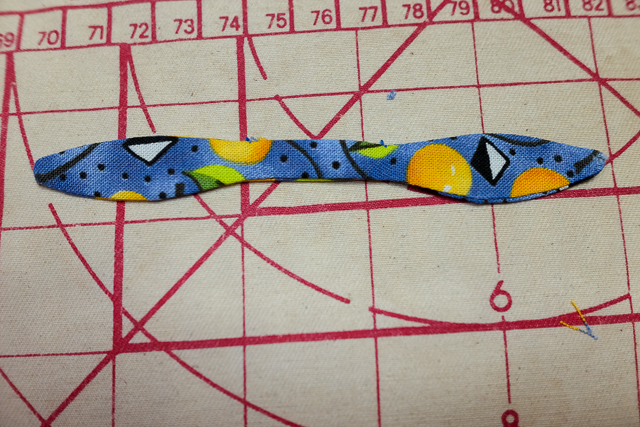 Turn the bow to the right side. Tuck the edges you left open up inside the bow and press the whole bow very well with a hot iron.
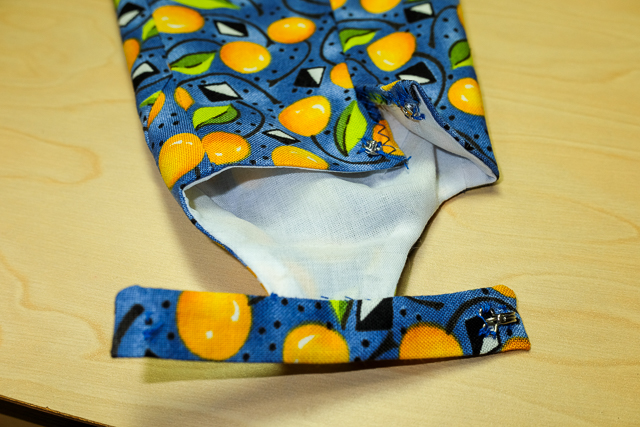 Slip the top of the dress into the opening in the collar and slip stitch it into place. Sew a snap (press stud) on the back to close the dress and a hook and thread loop on the collar to close it.
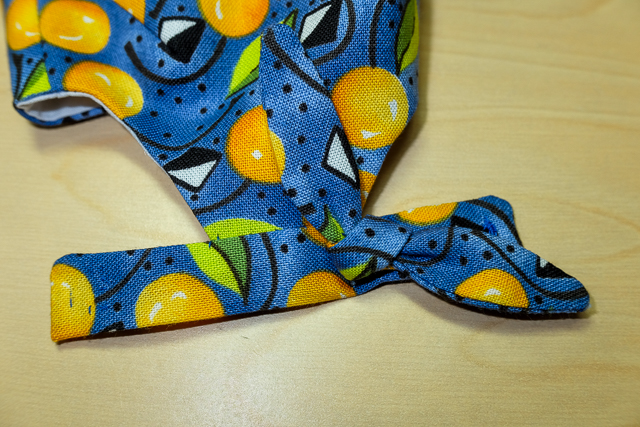 Sew the bow onto the side of the collar on the outside.
Amber Shows Off the Finished Pop Sugar Dress
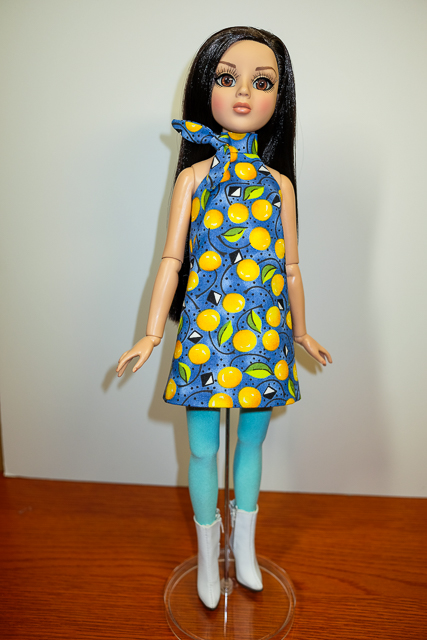 Amber models the finished Pop Sugar dress.
Continue on to make the jacket -->
Return to Pop Sugar Dress Tutorial page 1 -->
Return to Doll Sewing Tutorials -->
Return to the Home Page -->